Timing the catch, how it should feel, drills to improve the catch.
Timestamps
01:30 This Past Week - what we do to advocate for masters rowing. When procedures for communication don't work out through an organisation.
Lake Safety committee - many users of the water.
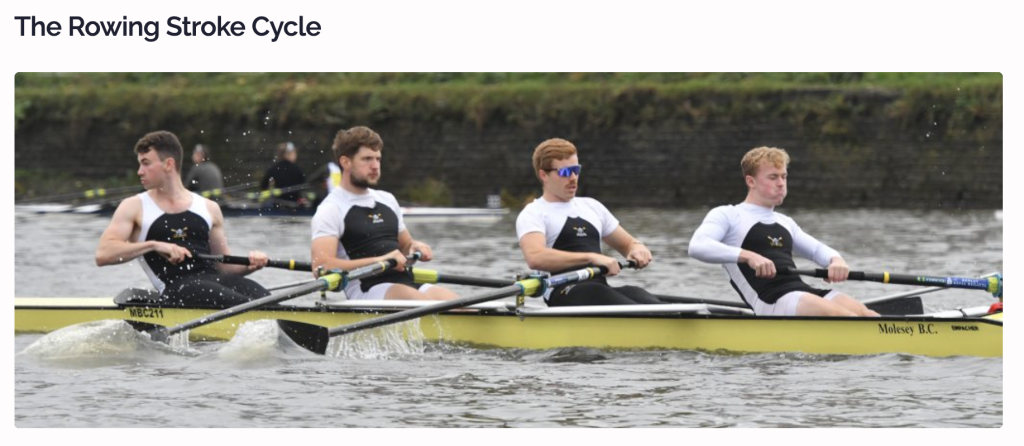
Oar placement or catch technique
09:00 The placement of the oar at the catch.
Get pressure on the blade is key to moving the boat well.
You are moving while placing. The entry is the final action of the recovery - your wheels are still turning. It's important not to stop - this causes missed water.
Minimise missed water equals minimising slip.
As the blade enters it's traveling in the same direction as the boat.
Get fully buried before putting pressure on the handle.
Get the whole series - it's free
Read and watch the full video series on the rowing stroke cycle - 6 episodes from catch to finish.
11:30 Visualise what you want at the catch.
Describe it in words. This helps you understand.
The difference between where the bottom edge of the oar touches the water and where the blade buries is missed water.
14:00 Hands lead the recovery
The handle moves further than the seat.
Checklist for a good catch
15:45 Checklist for good blade placement
- Body angle set
- Knees rising
- Approach the top quarter of the slide
- Roll the blade square
- Check pressure on the footstretcher
- Continue moving the seat and blades until the blade is under the water surface
- Stay tall
- Weight against the oarlocks
- Balance on your feet
- Keep going until the water is there
- When the blade enters the water soften your hands for a moment
- This is enough time to bury the blade.
- The handle starts moving because it's buried, because the boat is already moving, because you put pressure on your feet
20:00 Eight Drills for the placement
- Use pause drills In - set - go
- This gives you time to feel the grip on the water.
- Thumb position on the end of the handle grip.
- Calling in the catches
- Backsplash
- Quarter slide push
- Thumbs along the handle pushing into the catch
- Feel Time rowing
Minimise slip at the catch
24:00 Advanced tip to minimise slip
Have soft hands to let the water do its work
As it is buried, maintain distance between the thumbs until you feel pressure on the blade.
27:00 Thumbs along the handle drill
Don't chicken out - keepp the motion going
30:00 Row at 3/4 slide to work on the entry.
Make your corrections here because you are on the move
Backsplash is an exaggeration drill
When timing is good the splash is small
A small v-shaped splash front and back of the blade is desirable.
36:00 Row circles with one oar or in a pair. Create a controlled environment for learning.